
Docs
Contents
Install Auto-Lip-Sync
You can download the latest version from your dashboard.
To install Auto-Lip-Sync in Blender:
- Open Blender
- Open "Preferences" via (Edit → Preferences)
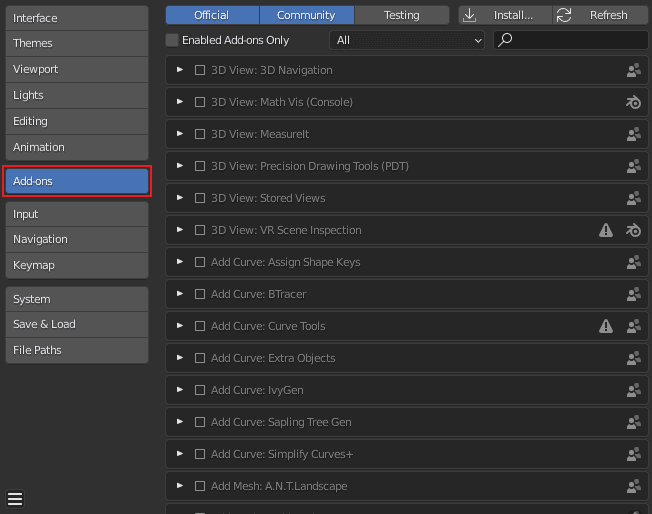
- Navigate to "Add-ons"
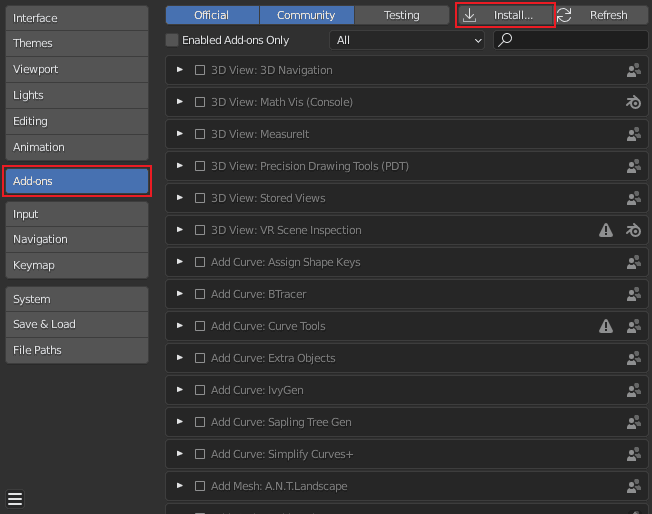
- Click "Install"
- Select the downloaded ZIP-file
- Activate the addon by ticking the checkbox


Getting Started
All of Auto-Lip-Syncs settings live within the context menu which can be opened by pressing "N" on your keyboard.


Next, log in with your credentials. To start synchronizing, create a pose library and setup your rig configuration.
Rig Configuration
Create pose assets (Blender 3.X.X)
To use Auto-Lip-Sync, you need to save your poses as assets in the current files asset browser.
- Select your face-rig
- Activate "Pose Mode" via the drop-down in the top left corner or by pressing Ctrl + Tab
- Move your rig in the desired pose
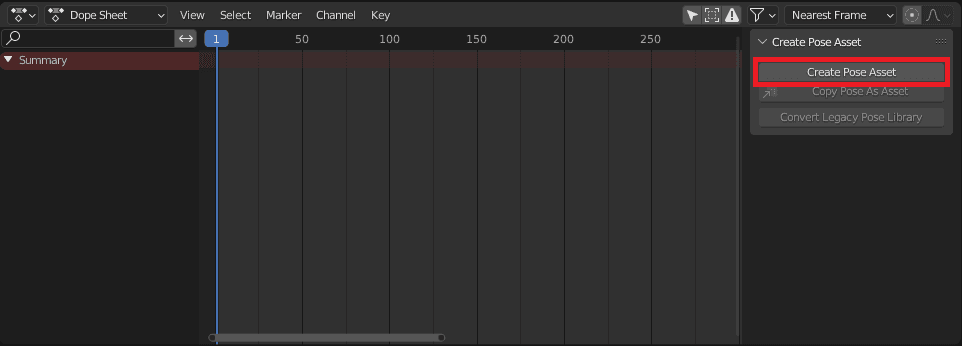
- Click on "Create Pose Asset"
- Repeat steps 3 and 4 until you saved all of your poses

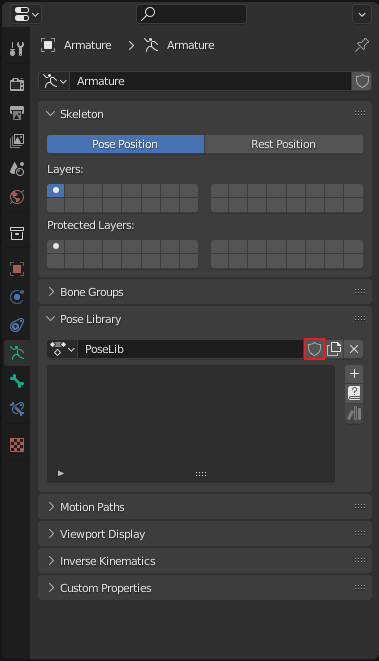
Create a pose library (Blender 2.X.X)
In older Blender versions, the poses are stored in a pose library instead of the newer asset browser.
To create one:
- Activate "Pose Mode" via the drop-down in the top left corner or by pressing Ctrl + Tab
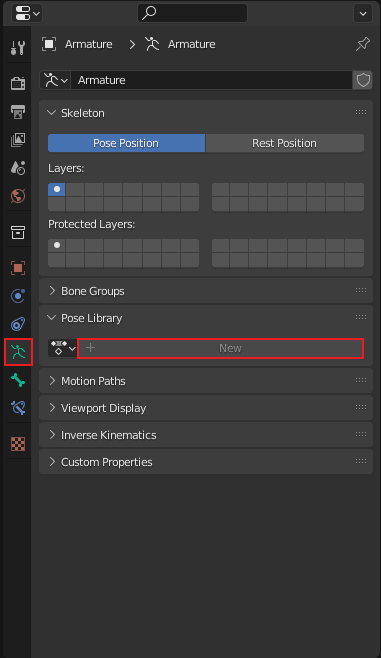
- In the "Properties Panel" navigate to the "Object Data Properties"
- Within the section "Pose Library" click "New" and name the pose library appropriately
- Click on the shield icon next to the pose library name to save the library
- Move your rig in the desired pose
- Select all the bones of your face-rig armature
- Click on the "+" to save the pose and name the pose accordingly
- Repeat steps 5 to 7 until you saved all of your poses


Setup your rig configuration
Next, go to "Rig Configuration" in the Auto-Lip-Sync tab. Here you can select a pose for every phoneme. On the left side, you can see the phoneme and an example word containing it. Based on this information you can choose the pose of your face rig which best resembles that phoneme.
Note: Most face-rigs will use the same pose for multiple phonemes


Settings
Audio Path
Please provide the path to the audio file by clicking on the folder symbol on the right-hand side. You can use audio files in the most common formats like WAV, MP3, OGG, WMA, ACC or FLAC.
Transcript Path
Please provide the path to the transcript by clicking on the folder symbol on the right-hand side.
Note: This file should be saved as a plain file (TXT file).
Start Frame
This setting allows you to manually set the first frame of your animation. By default, the animation will start at the frame selected by your cursor in the timeline.
Interpolation
You can choose how to interpolate between the different poses:
- Bezier: smooth transition between poses (Default)
- Linear: smooth transition between poses with sudden starts and stops
- Constant: no transition phase between poses


Restore Animations
If you want to restore one of your previous animations, you can enable "Restore Animation" and choose one of the clips you previously aligned.
Note: You will not be charged for the animations you restore.
If you have any questions, please don't hesitate to get in touch with contact@auto-lip-sync.com.